Flowbit Viewer
Flowbit Viewer Features
General
Cross-platform desktop application (Windows / Linux)
Real-time rendering and interaction with large-scale 3d scene
Multi-device support with live connection status monitoring
Getting Started with the Viewer App
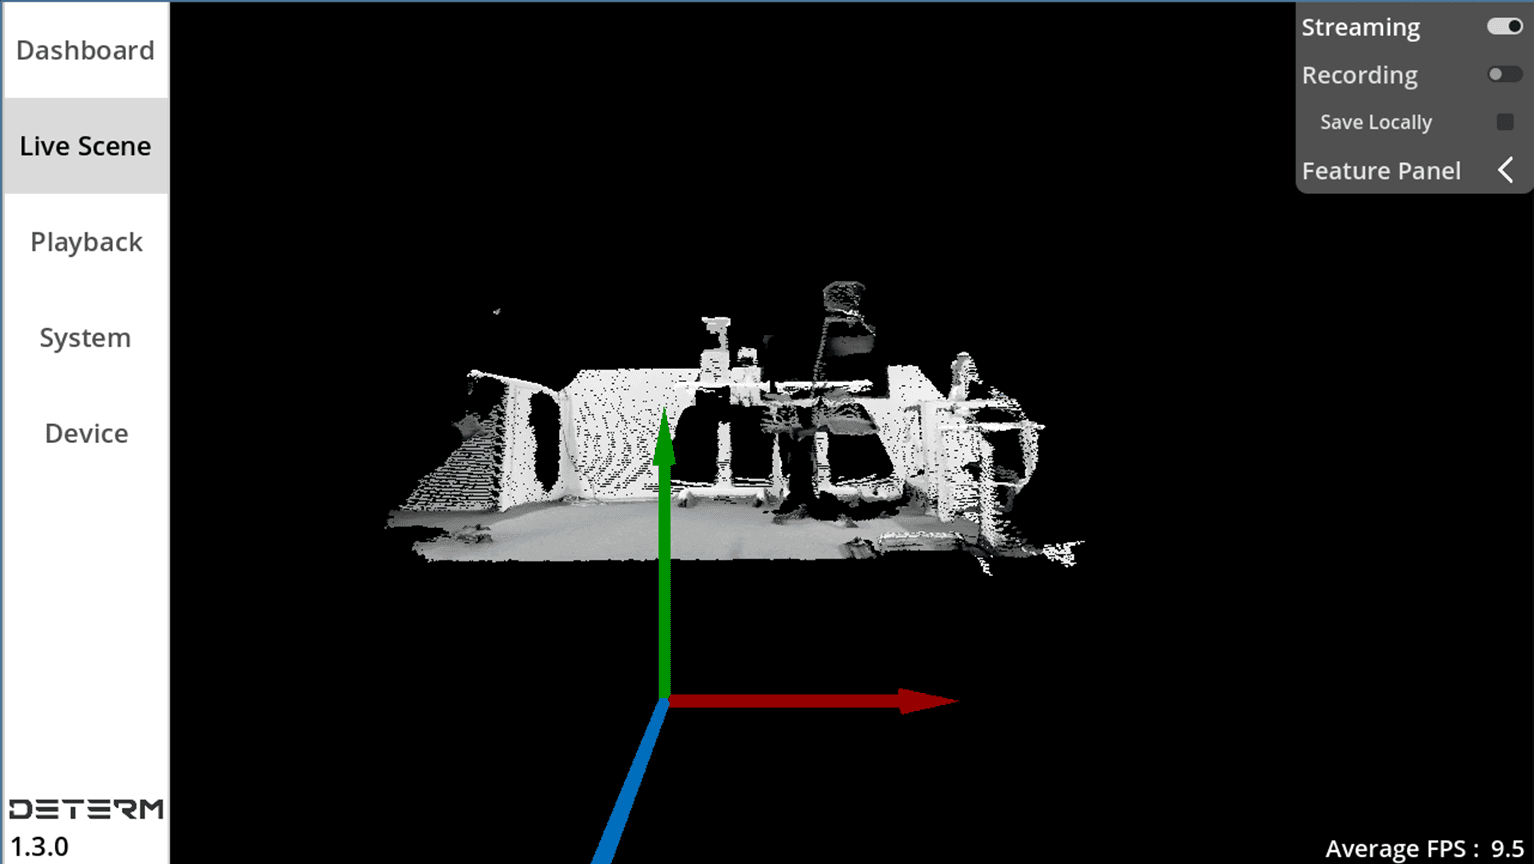
Start the 3D scene streaming
Switch to “Device” Panel ➡️ Click the "Connect" button of device ➡️ Switch to “Live Scene” Panel ➡️Click the "Streaming" button
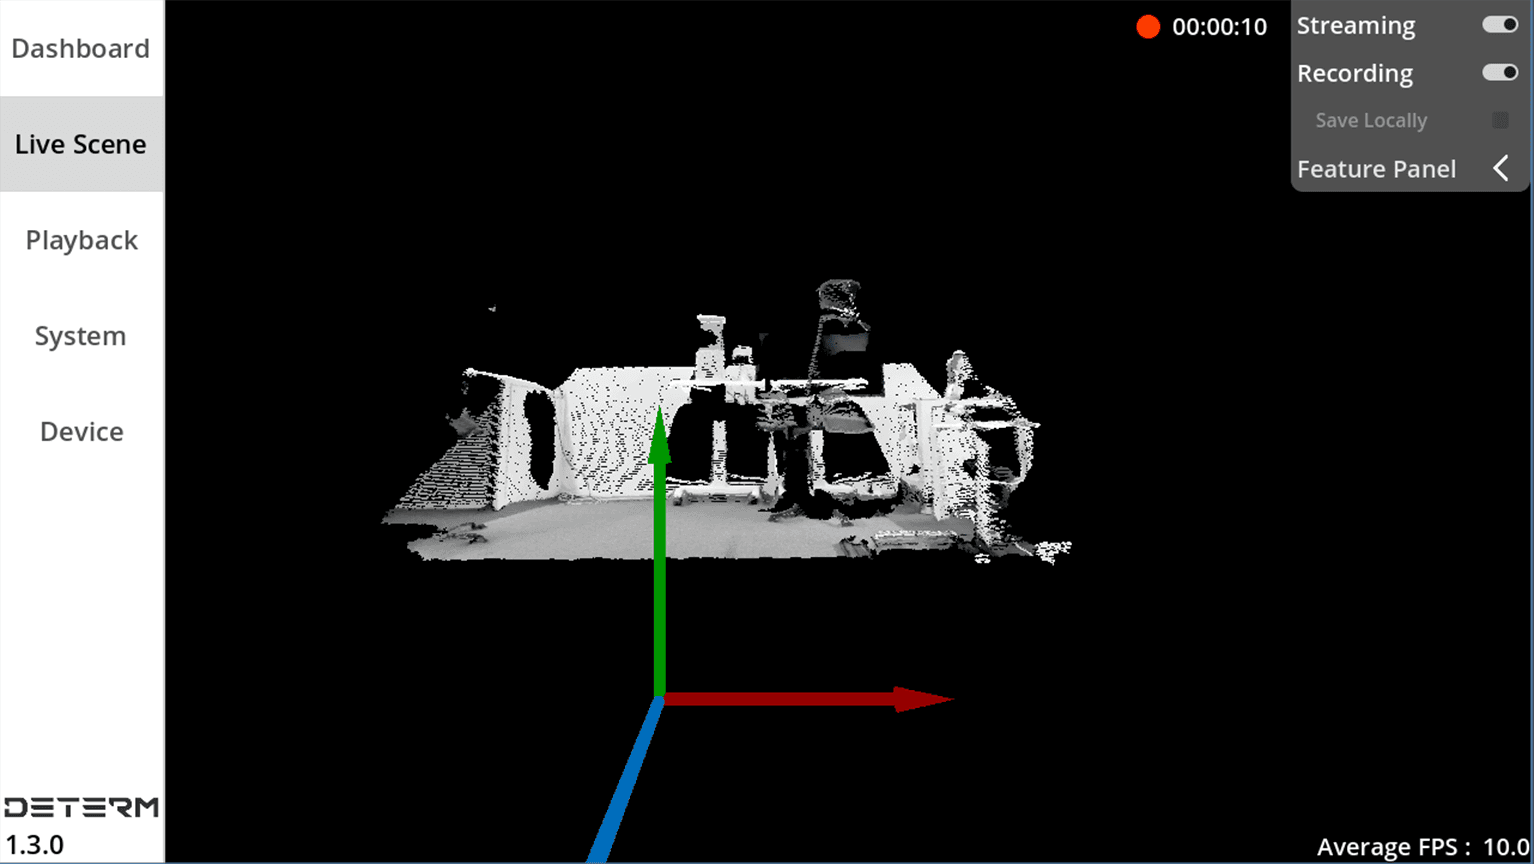
Record the 3D scene
Start the 3D scene streaming ➡️ Click the “Recording” button“
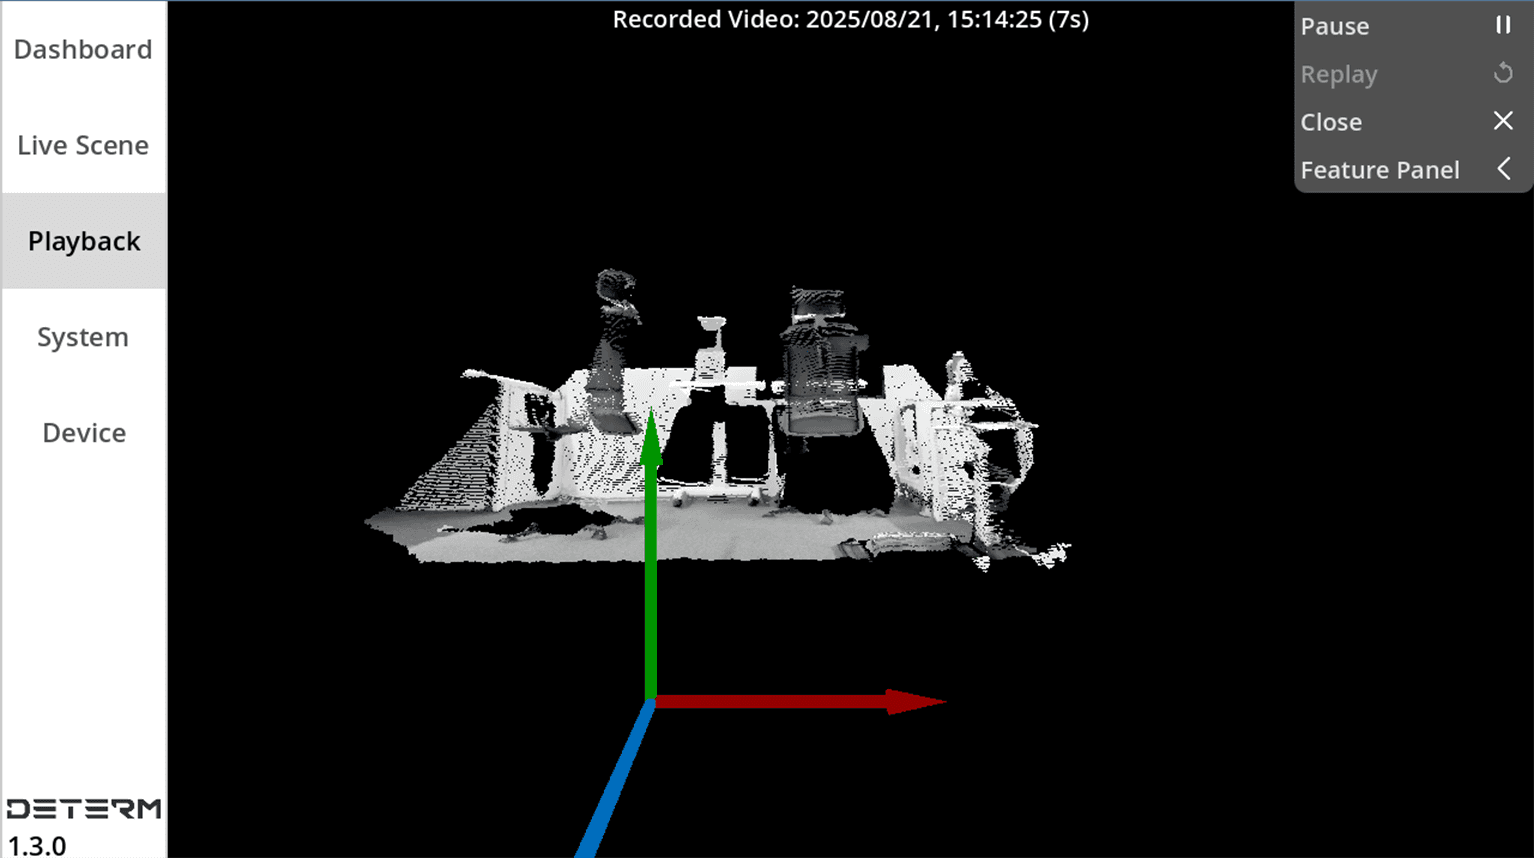
Playback Recorded 3D scene
Record the 3D scene ➡️ Switch to “Playback” Panel ➡️ Click the "download" button ➡️ Double click index image to playback

Dashboard
Server Overview
Displays connected and available devices.
Recorded Video Summary
Shows the number of recorded videos and available storage.
Device Information
Lists available devices with serial numbers and IP addresses.
Indicates connection status and FPS
Live Scene Panel
1. Streaming and interaction of 3D scene
Real-time rendering of 3D scene
Hold down the left mouse button: Rotate the 3D scene up, down, left, and right.
Hold down the right mouse button: Move the 3D scene forward, backward, left, and right.
Scroll the mouse wheel: Zoom in and out.
2. Record video
Save Locally Checked: Saves recording on server/local PC.
Save Locally Unchecked: Saves on client device.
3. Feature Panel
Toggle for various features: Depth View, Frame, Plane, 2D View.
Reset perspective (POV): Reset to the initial scene direction.
Playback Panel
1. Recorded Video Playback
Display of the timestamp and duration of recorded video
Double click to view the recorded 3D scene.
Play, pause, and replay options.
2. Feature Panel
Toggle for various features: Depth View, Frame, Plane, 2D View.
Reset perspective (POV): Reset to the initial scene direction.
System Panel
Option to adjust system configuration settings: Record Video From Server Side, Point Size, Target FPS, Device Status Detection Interval and Camera Start Delay.
Reset: Reset to factory system configuration.
Discard: Reload the last saved configuration
Save: Save the modified configuration.
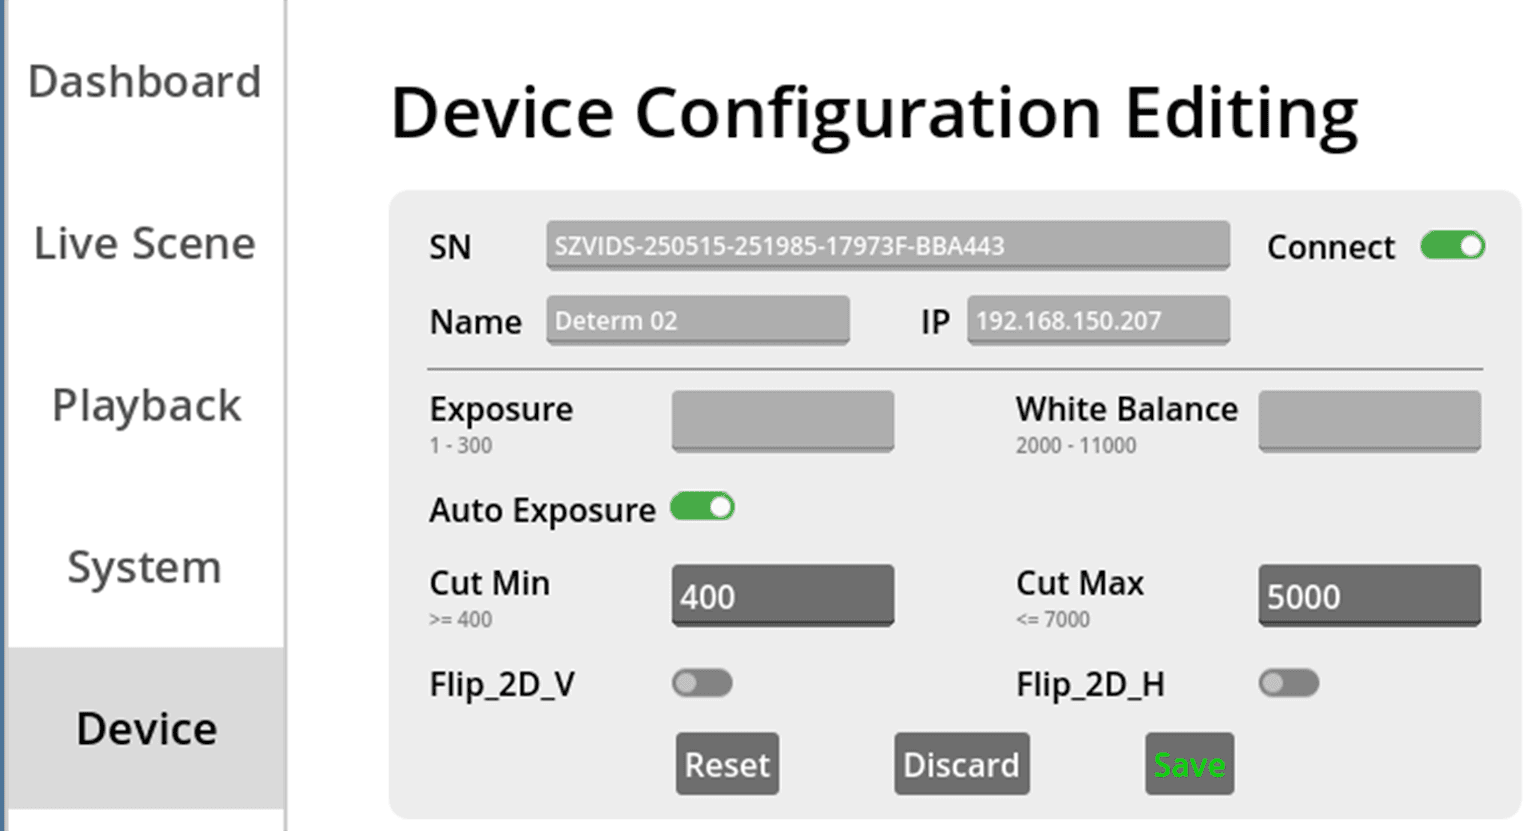
Device Panel
1. Device Management
Connect or disconnect devices remotely.
Device info: SN (Serial Number), Device Name and IP Address
2. Advanced Settings
Exposure: range from 1 to 300 milliseconds (ms).
White Balance: range from 2000 to 11000 kelvin (K).
Auto Exposure: when enabled, the device automatically adjusts exposure and white balance.
Cut Min and Cut Max: detection range of depth.
Flip_2D_V: vertical flip of 2d image
Flip_2D_H: horizontal flip of 2d image