Unity Plugin
The Unity plugin wraps the Flowbit Server SDK so a Unity app can capture synchronized color + depth point clouds from the edge cameras and (optionally) run 3D object segmentation — all in the editor, Windows x64.
What's new in 1.5.0:
The streaming viewer is time-synchronized (multiple cameras aligned by capture timestamp);
Recordings are written by the server side, on the PC running Unity, under Assets/…. The camera no longer records to its own storage (the on-device recording + FTP download feature was removed);
A 3D segmentation detector, which is a separate download, see Unity Plugin - Set up the detector (only for 3D segmentation), can be started/stopped from inside Unity.
Some screenshots below may still show the earlier v1.4 UI, but the steps are current.
Prerequisites (install once)
CUDA
Version > 10.2. An NVIDIA GPU is required; RTX 3060 or newer is recommended (needed for the capture kernels, and used by the detector).
GStreamer
Download from the GStreamer download page. Or here 1. gstreamer-1.0-devel-msvc-x86_64-1.22.12.msi 2.gstreamer-1.0-msvc-x86_64-1.22.12.msi.
Install both the runtime and development MSVC x86_64 packages. 1.18–1.24 all work.
Install to the default path (
C:\gstreamerorC:\Program Files\gstreamer).Add
path\to\gstreamer\1.0\msvc_x86_64\binto the systemPathenvironment variable, then restart the PC.
Bonjour
Download and install Bonjour print services - used to discover camera devices on the LAN.
Python (only if you use 3D segmentation)
Python 3.10+ on
PATH, for the detector service.The detector is a separate download, set up in Unity Plugin - Set up the detector (only for 3D segmentation).
Import the plugin
Download the Unity plugin flowbit-server-SDK-1.5.0-windows-x64.unitypackage, Windows x64, Unity editor only
Recommended: Unity 6000.0.37f1, Universal 3D (URP) project.
The plugin's shaders render via URP's
SRPDefaultUnlitpath, and the camera controls use the Input System package.On other Unity versions (e.g. 2022) create a Universal 3D project, or a Built-In 3D project and install Universal RP from the Package Manager.
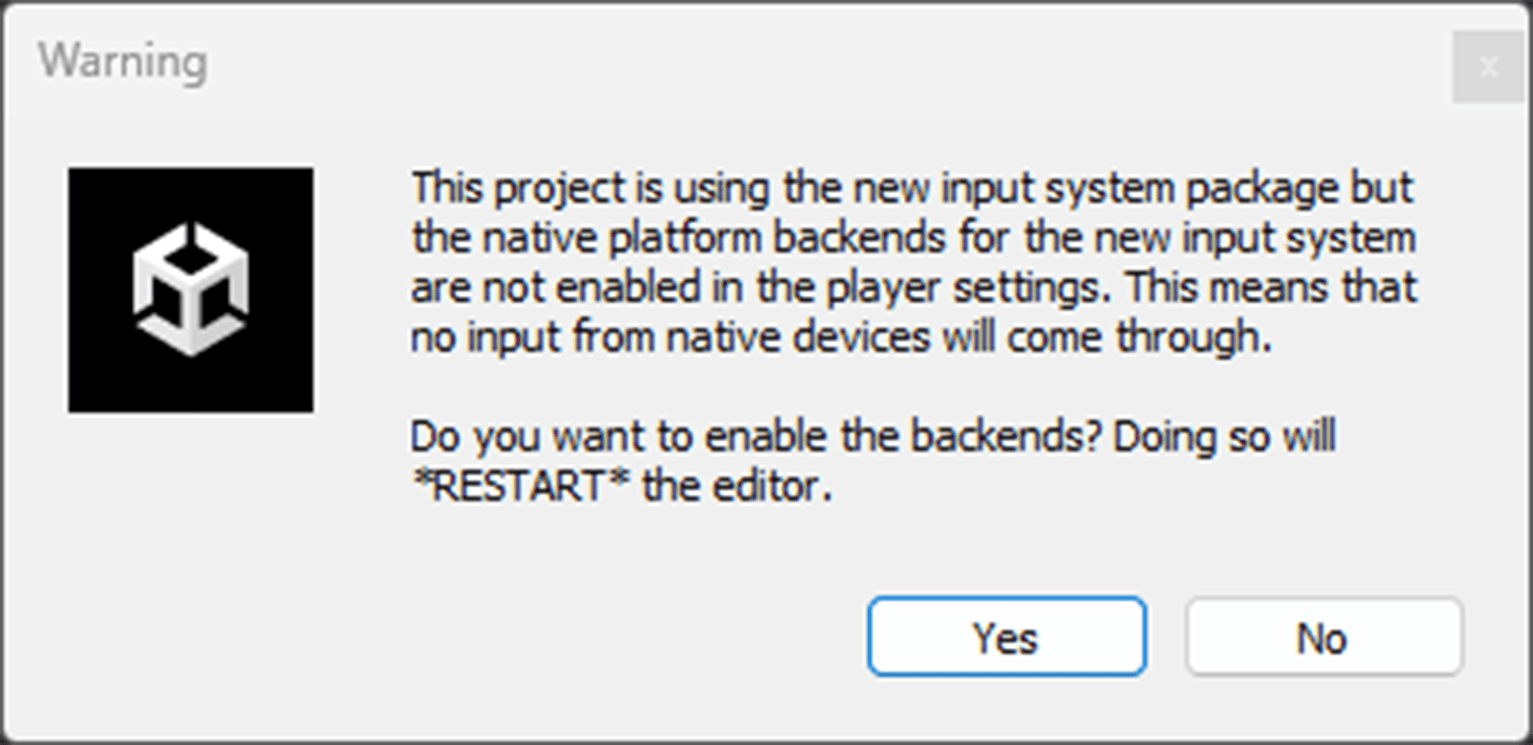
Install the Input System package (Window > Package Manager > Unity Registry). When prompted to enable the new input backend, press Yes to restart Unity.
Assets > Import Package > Custom Package, then select the Flowbit Unity plugin
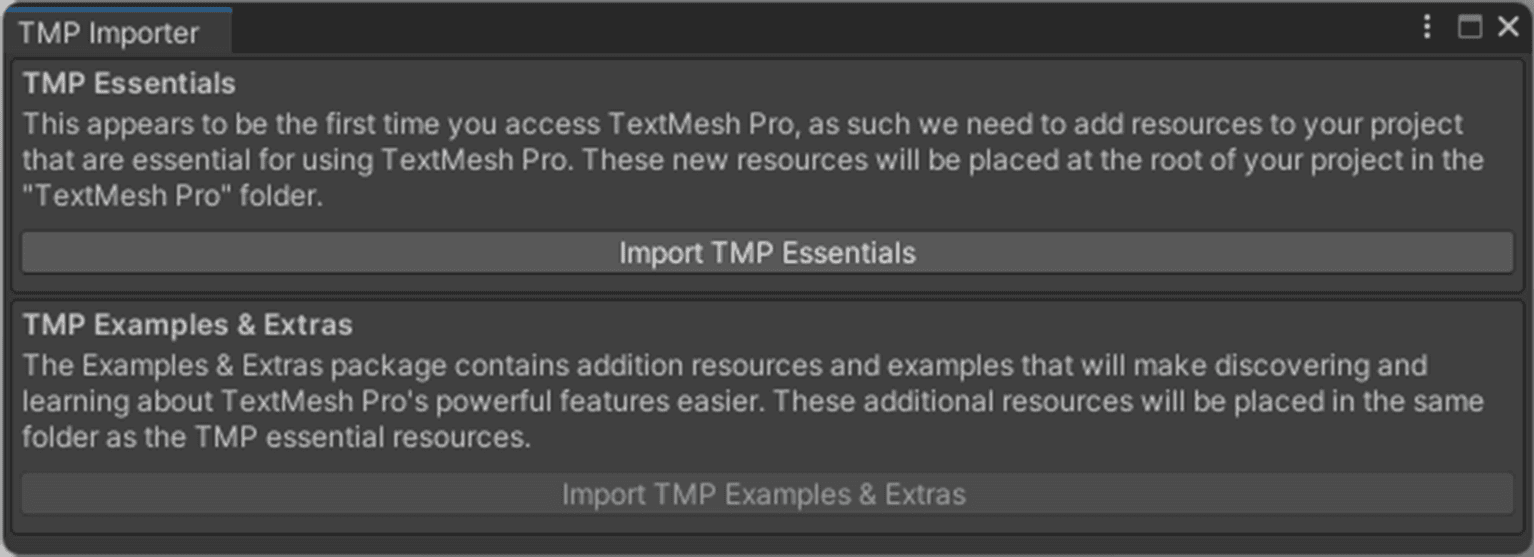
.unitypackage.When the TMP Importer window appears (on import or when first opening a scene), press Import TMP Essentials, then re-open the scene.
The plugin bundles its native DLLs under
Assets/DetermFlowbitServer/Plugins/win64.
WARNING
The plugin requires unsafe code enabled. Go to Edit > Project Settings > Player > Other Settings and tick Allow 'unsafe' Code.
Set up the detector (only for 3D segmentation)
The detector is a separate download. It is not bundled in the plugin, so the plugin itself carries no detection model.
Download the detector flowbit-server-SDK-1.5.0-detector.tar, unpack it into Assets/DetermFlowbitServer/detector/, so that setup.ps1 sits directly in that folder. Then run the one-time setup:
This creates the private .venv, installs the Python dependencies, and downloads the model weight on your machine, which is where you accept the model's licence terms. The detector's own INSTALL.md has the details.
You do not start the detector from a terminal. It is started and stopped from inside Unity, see Unity Plugin - 3D segmentation (detection). Streaming works without it; only segmentation needs it.
Example scenes
Streaming example (time-synchronized)
Open FlowbitServerStreamingExample in the
Scenesfolder.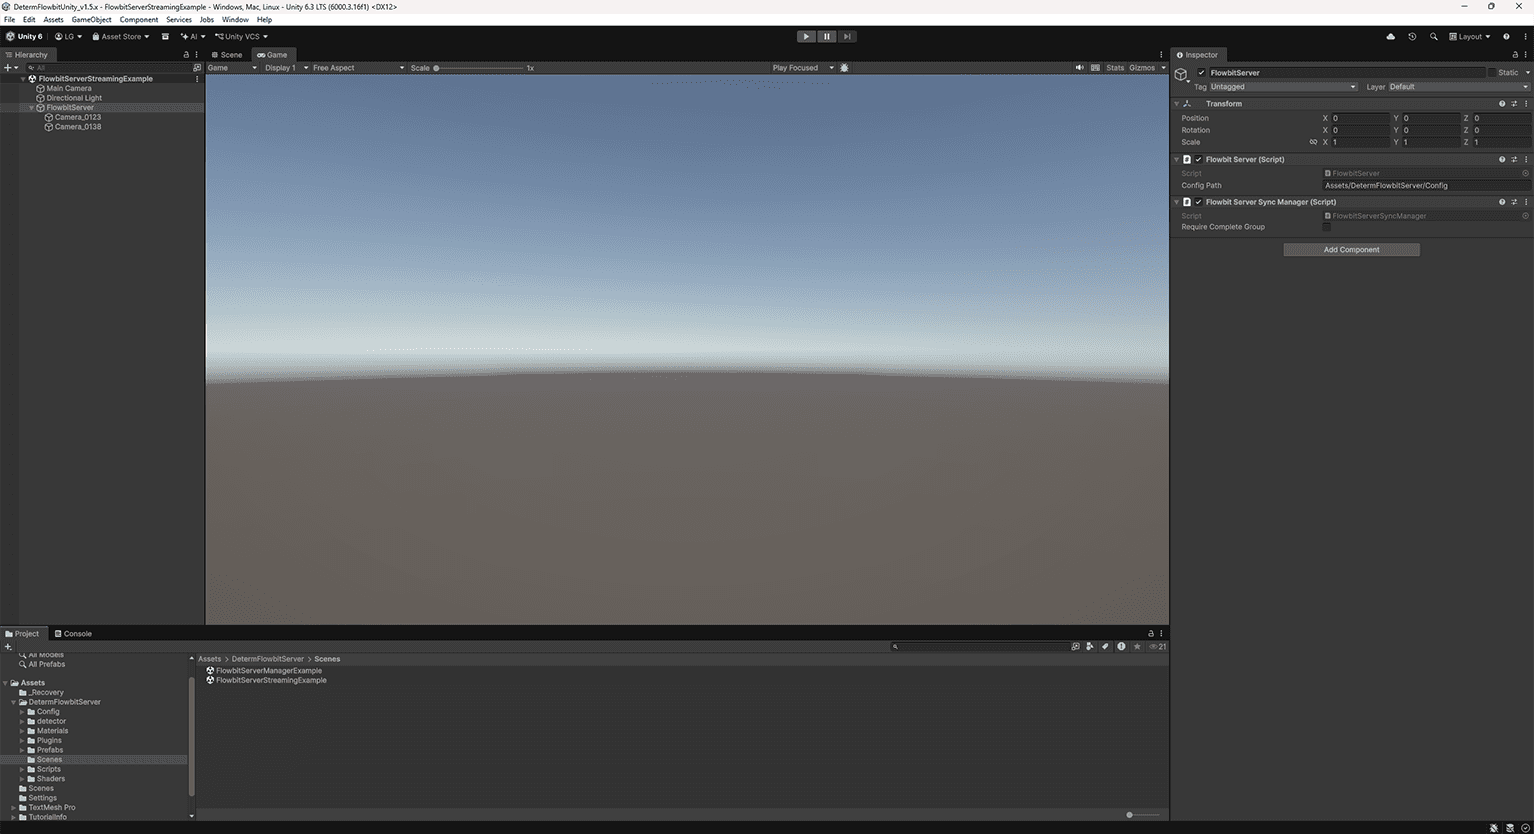
Select the FlowbitServer object. In the inspector set
Config PathtoAssets/DetermFlowbitServer/Config. This object also carries the Flowbit Server Sync Manager that time-aligns every camera by capture timestamp.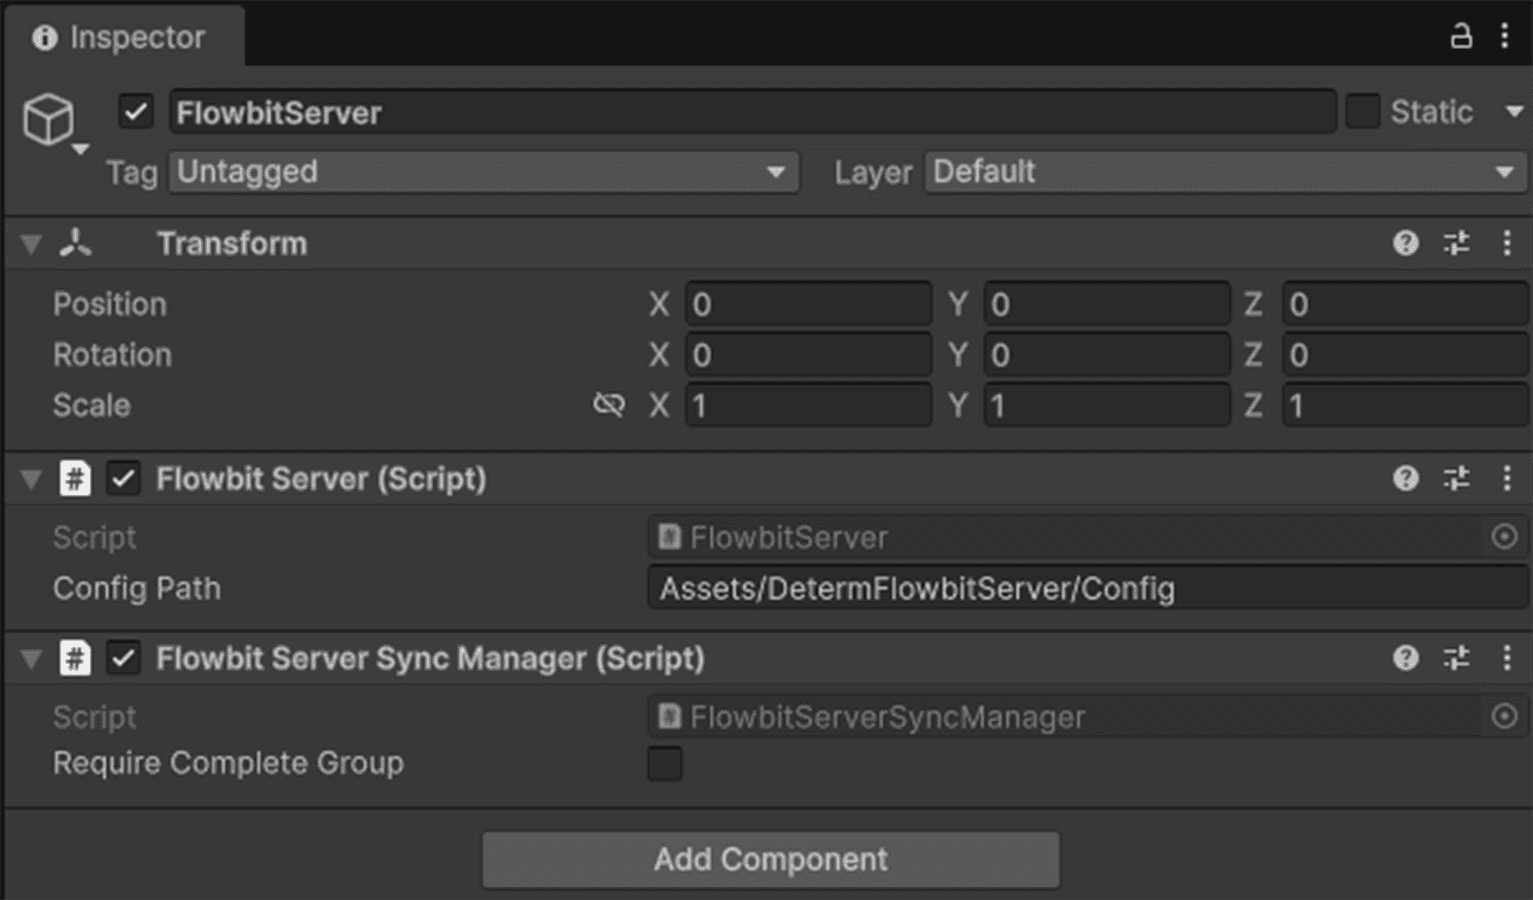
Under FlowbitServer there is one child object per camera (Camera_0123, Camera_0138, …), each with a Flowbit Server Sync Client component. On each, set
Client Device IDto your real device id (e.g.SZVIDS-250214-923020-3002B0-38D5B8) and assign aVertex MaterialfromMaterials/PointCloud- PointCloud_Vertex (points) or PointCloud_RectPlane (small squares). Add more cameras by duplicating a Camera object and changing itsClient Device ID.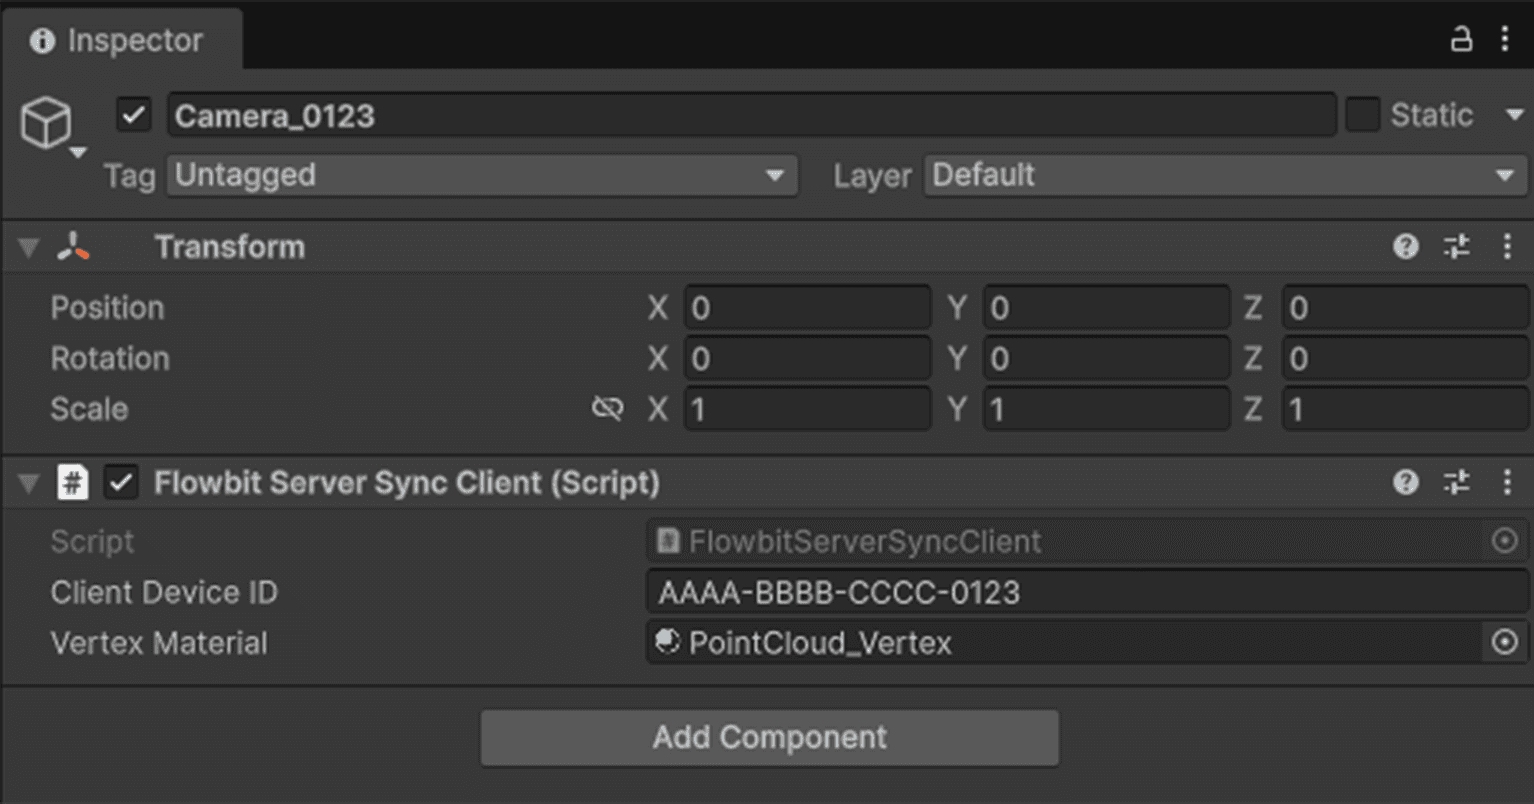
In
Assets/DetermFlowbitServer/Config, open the<Client Device ID>/capture_configfile for each device and set its Device IP to that camera's IP address.Make sure the cameras are online, then press Play to view the synchronized point clouds. A single camera always renders. Two or more cameras only form a complete synchronized group once they share a clock over PTP.
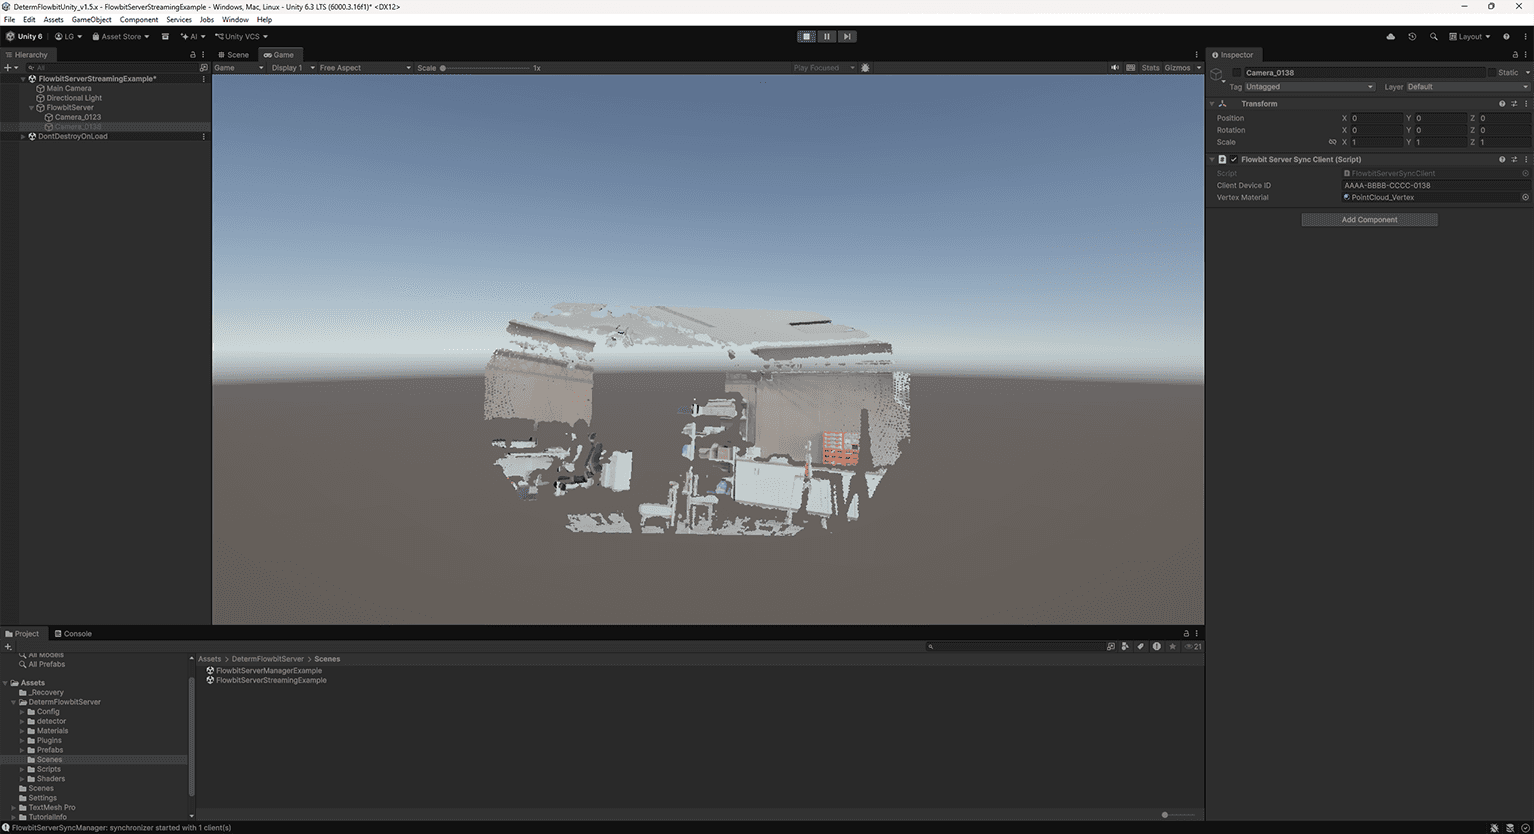
Manager example (runtime connect, stream, record, playback)
Open FlowbitServerManagerExample and press Play.
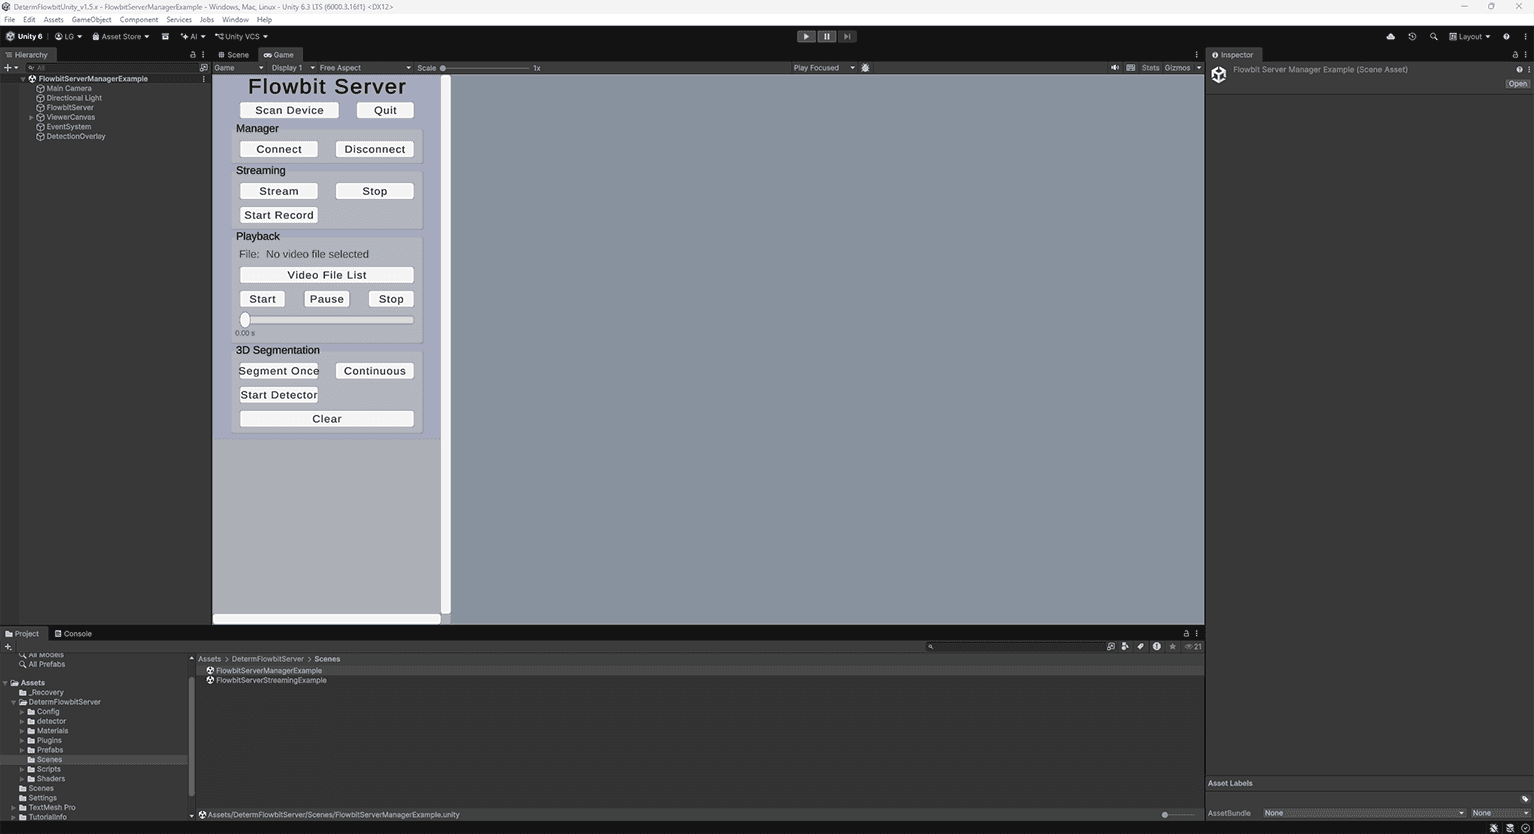
Press Scan Device to list the clients discovered on the LAN; each appears as a Client Info panel.
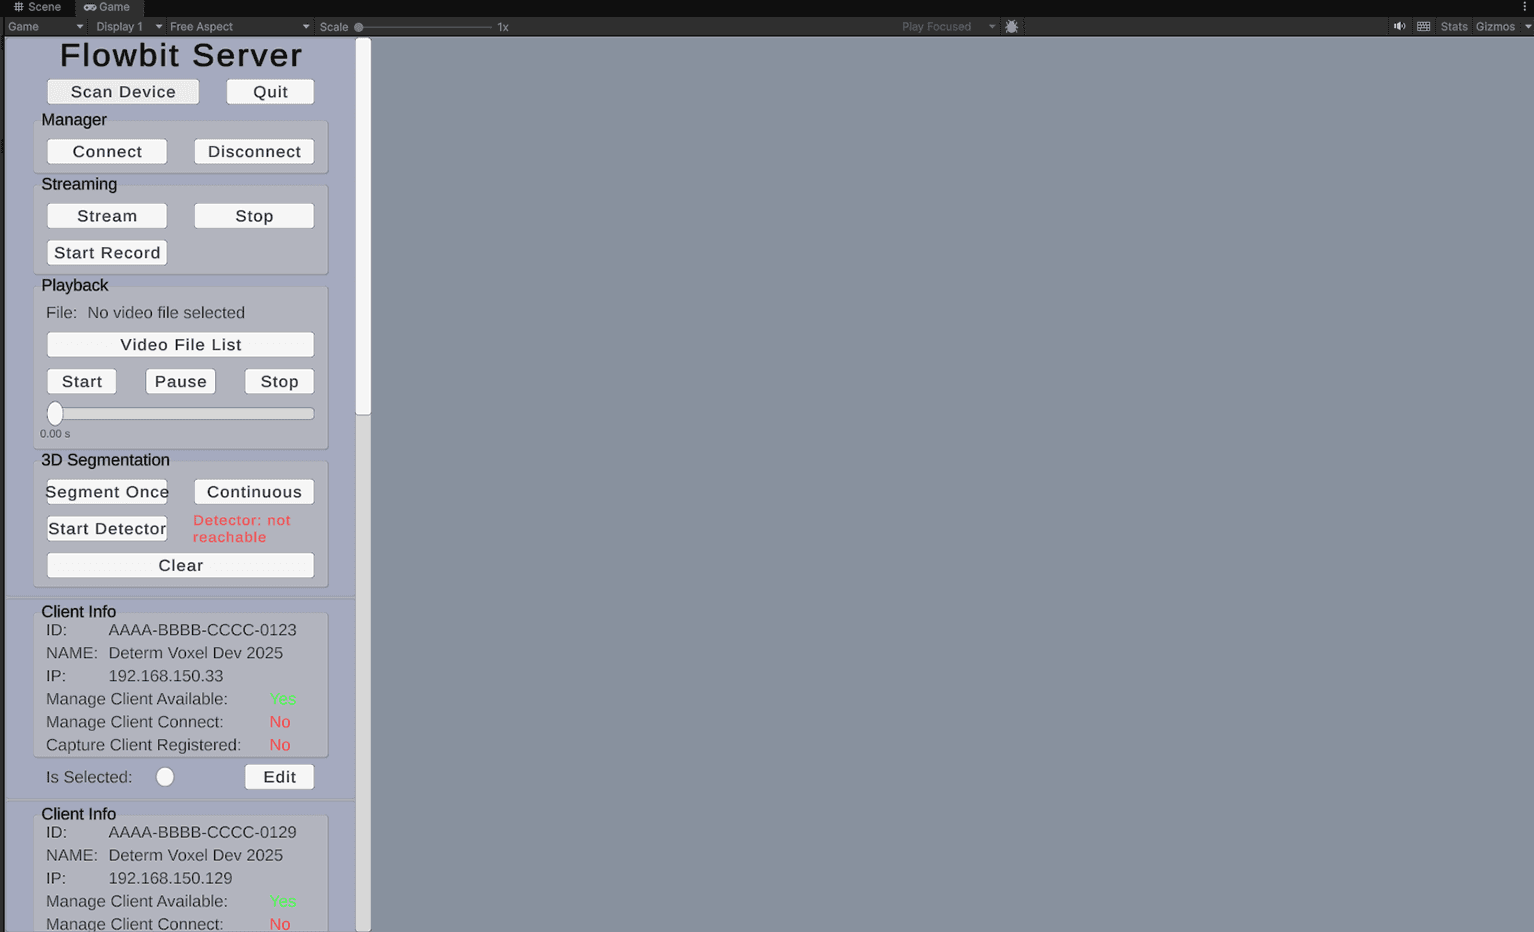
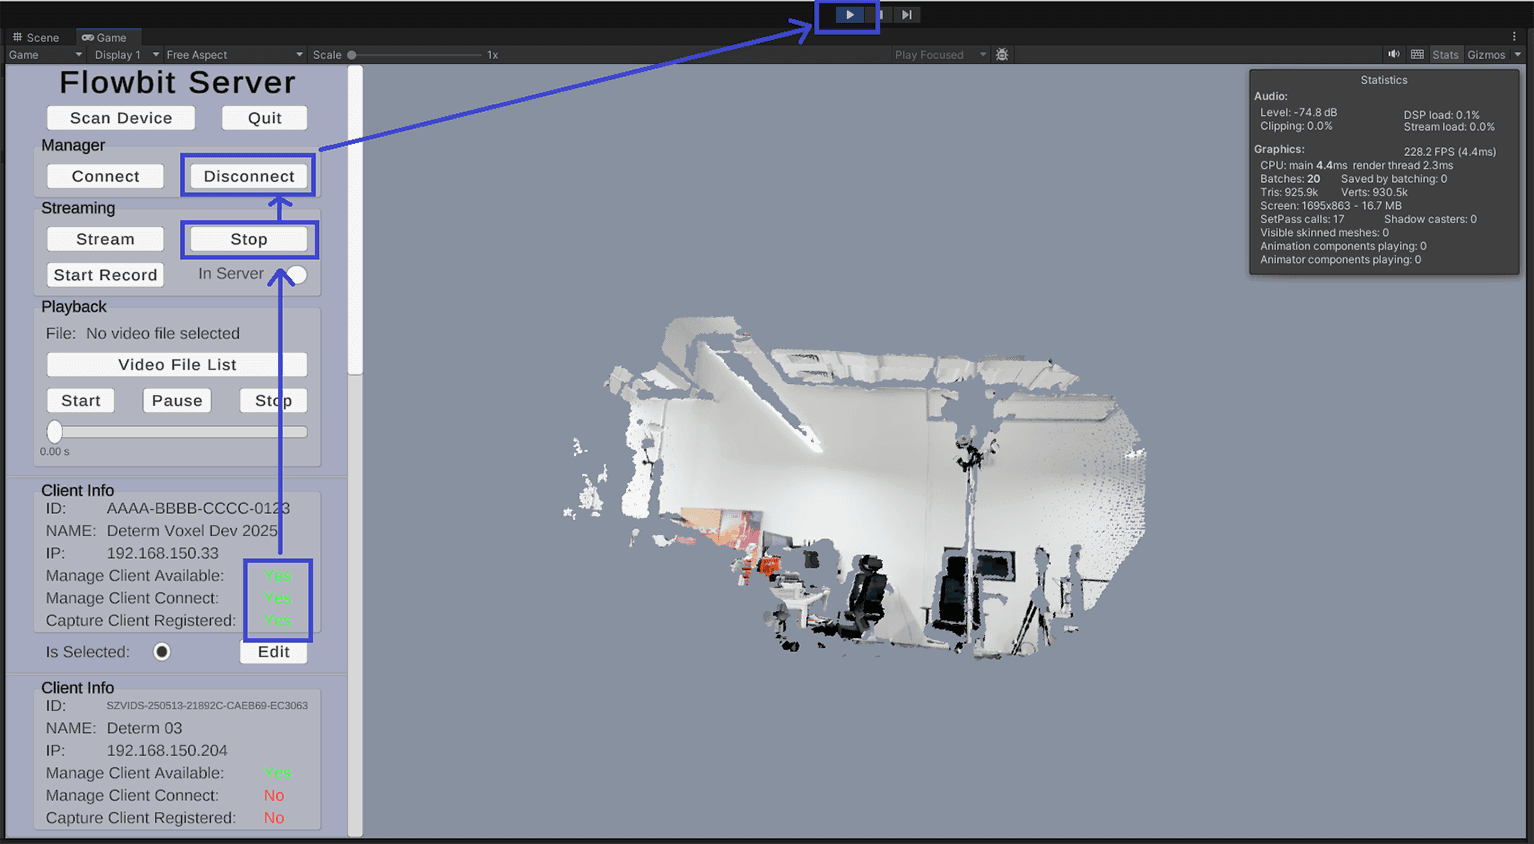
Use Connect / Disconnect to connect the selected clients (only panels with the Is Selected toggle on are affected). On connect, Manage Client Connect turns to a green Yes.
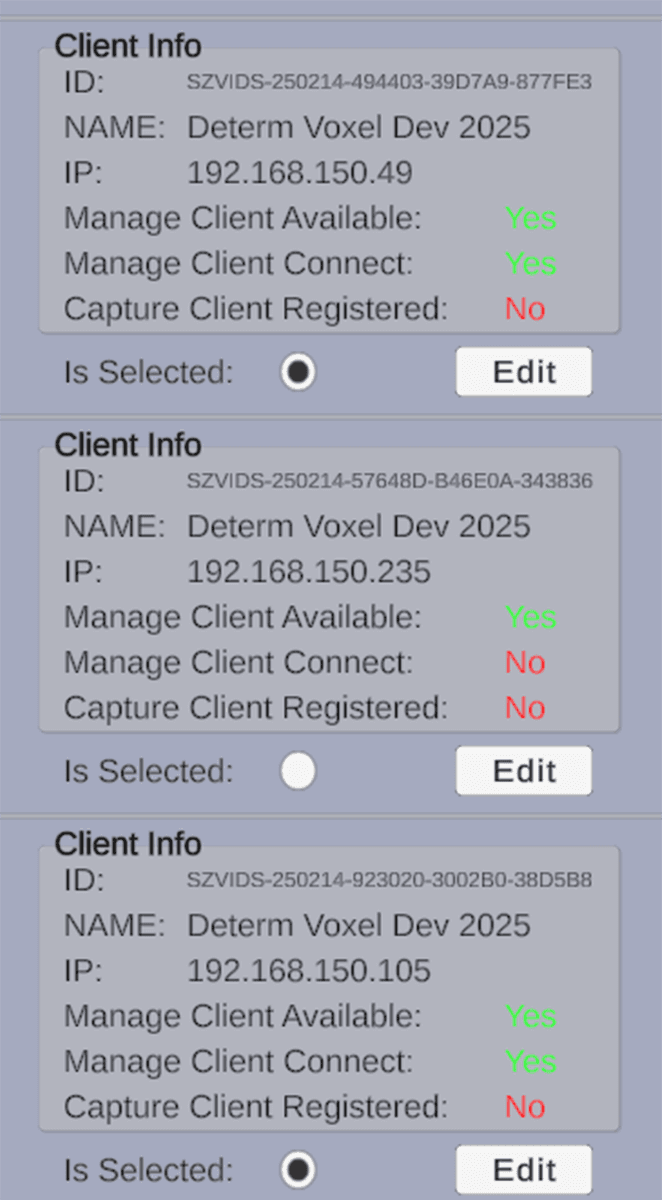
Use Stream / Stop on the Streaming panel to start/stop point-cloud streaming. On stream, Capture Client Registered turns to a green Yes and the cloud renders. Every streaming camera is automatically fed into the synchronizer, so multiple cameras render time-aligned.
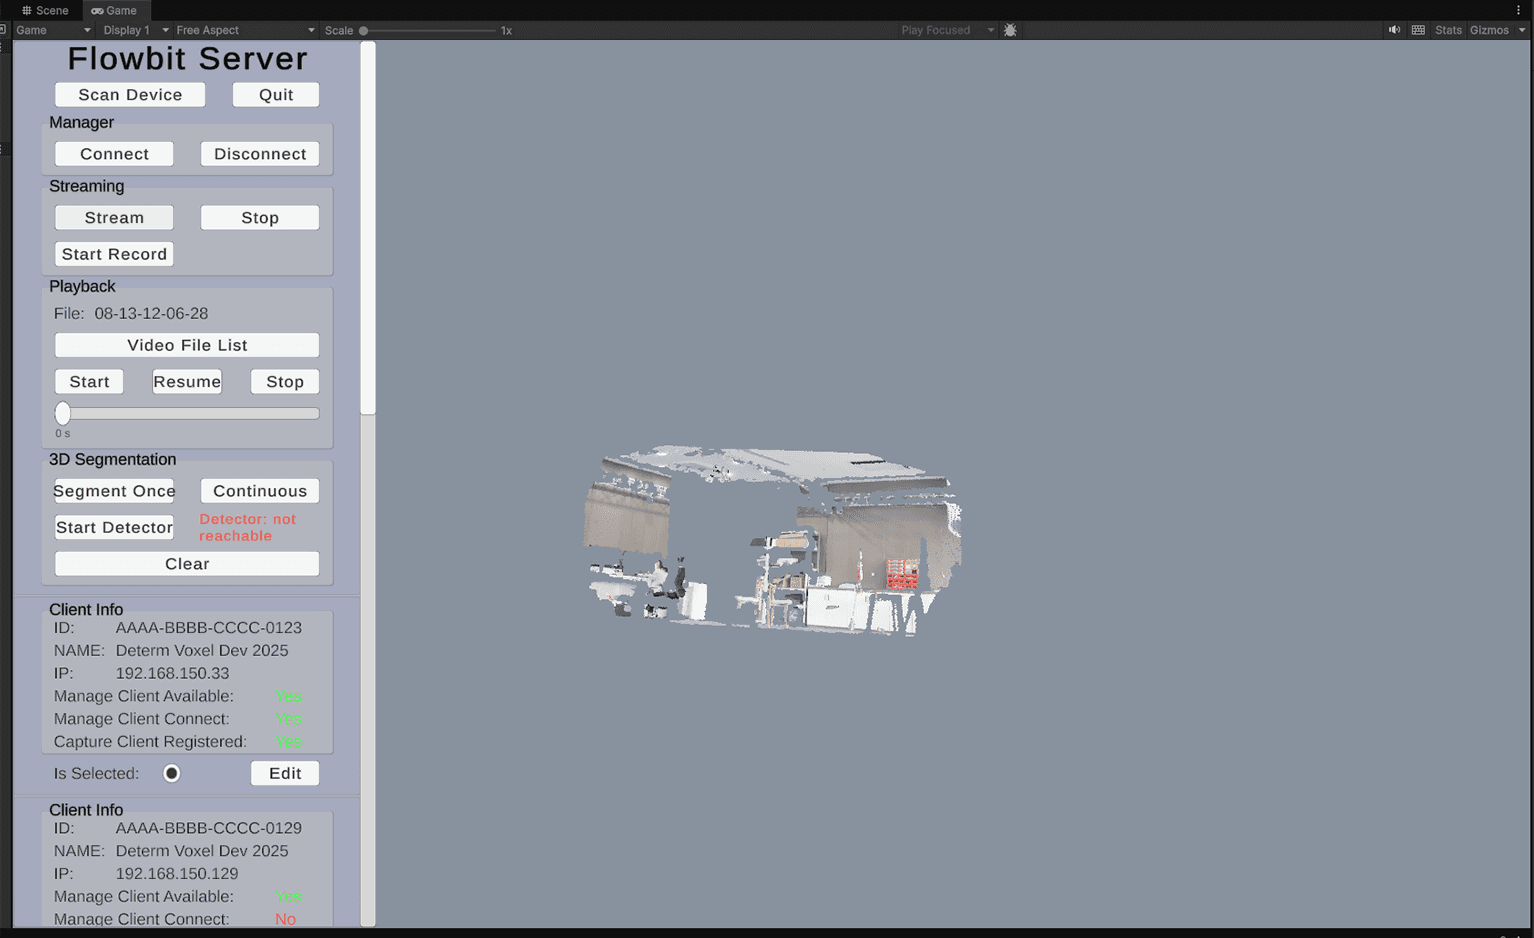
Camera controls: W / A / S / D move, hold the right mouse button and drag to rotate, and the scroll wheel zooms.
Recording: press Start Record to record the selected streaming clients. In 1.5.0, recordings are written by the server side, on the PC running Unity, under
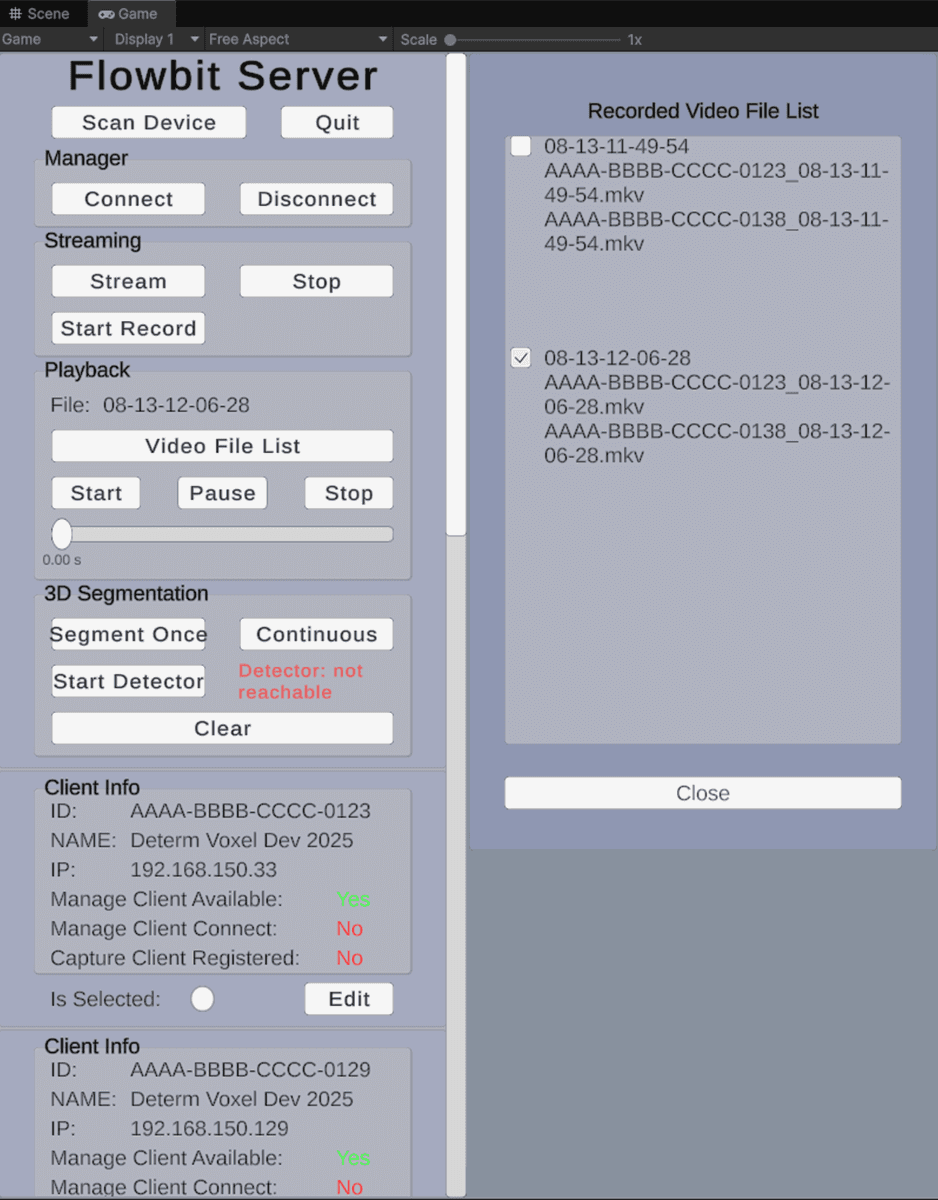
Assets/<Video Folder Name>/<recording time>/.The default folder name isvideos. Press Stop Record ,the same button toggles, to finish. Streaming continues.Playback: press Video File List to browse recordings by time, select one, and it appears on the Playback panel. Use Start / Pause / Stop to control playback; the slider shows progress.
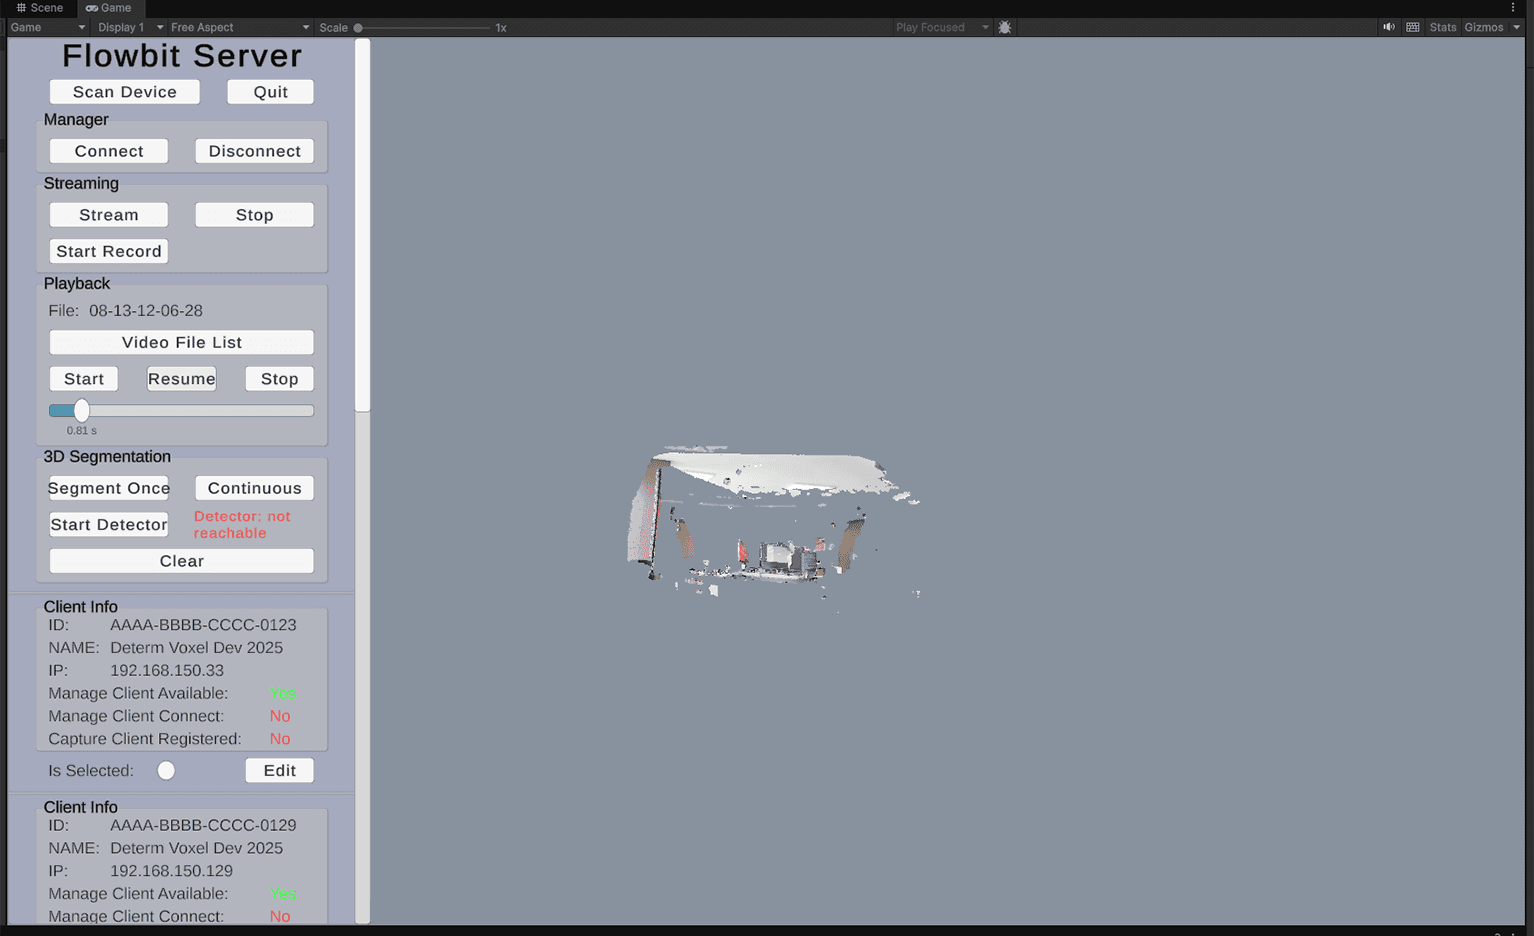
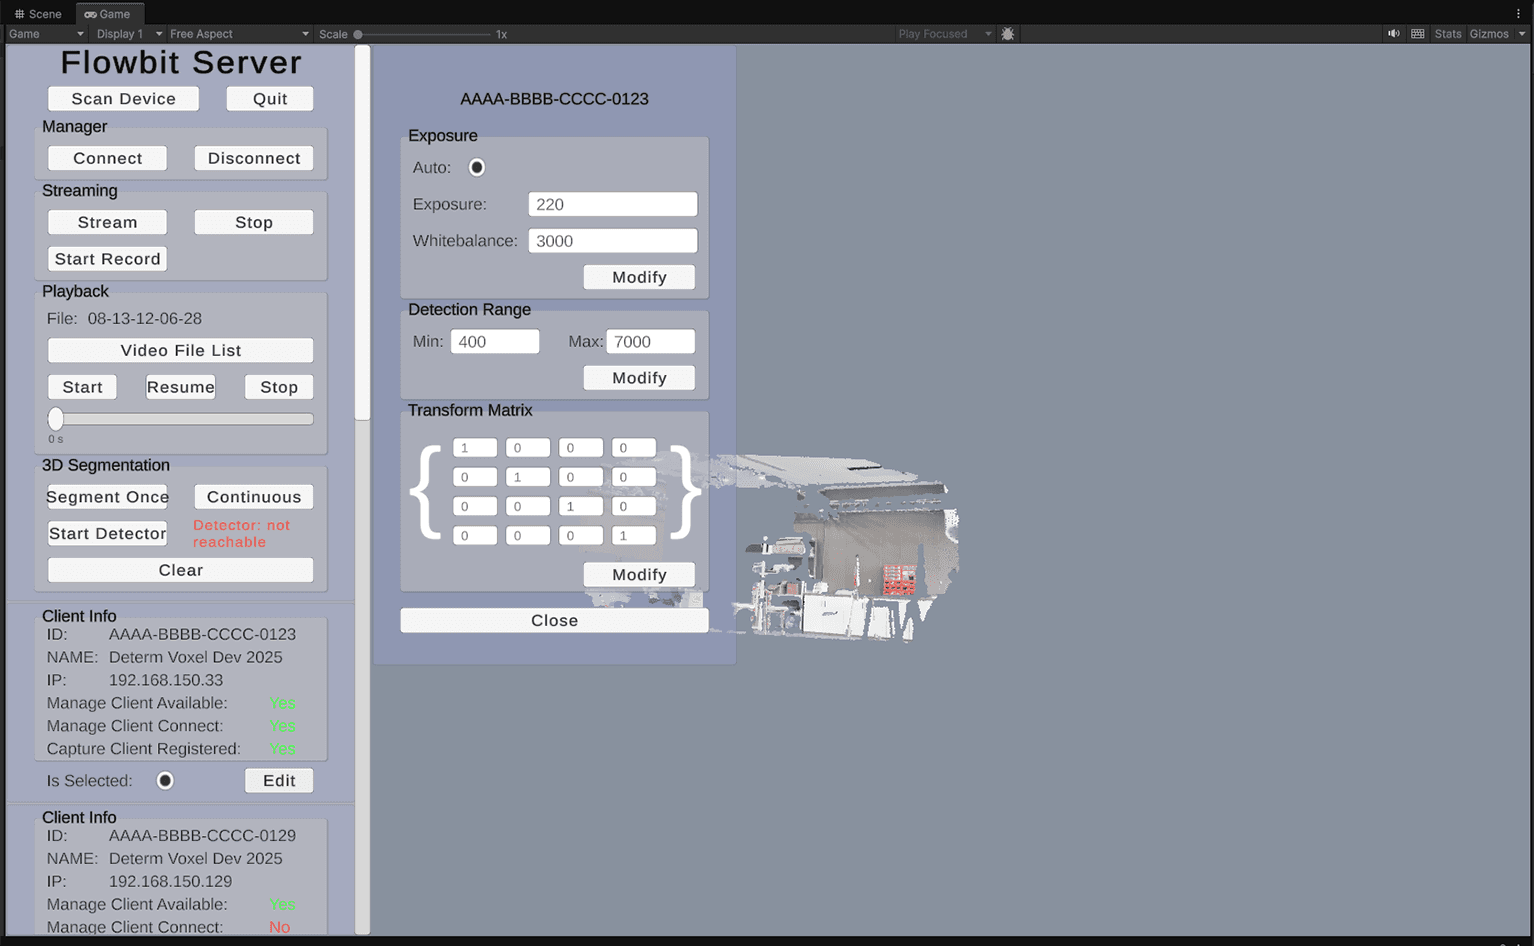
Press Edit on a Client Info panel to change that device's exposure, depth cut range, and transform matrix (used to align the clouds from different devices in space).
Before you leave Play mode, press Stop and then Disconnect on any device that is still streaming or connected.
3D segmentation (detection)
The manager scene has a 3D Segmentation panel (Panel_Detect) under the control panel. It runs live object segmentation on the synchronized clouds. Requires the detector set up in Unity Plugin - Set up the detector (only for 3D segmentation).
Press the Start Detector toggle. This launches the detector you set up in Unity Plugin - Set up the detector (only for 3D segmentation), running its
.venvon port 8901. The status line shows Detector: starting… then reachable , taking a few seconds while it loads the model. The button label flips to Stop Detector. Press it again to shut the service down. It is also killed automatically when you exit Play.Press Segment Once for a single detection, or Continuous to detect continuously. The fused 3D instances are drawn as colored points floating on the live clouds — an object seen by several cameras fuses into one instance.
Press Clear to remove the drawn points and stop detecting.
Segmentation is optional: if the detector is not started (or setup.ps1 has not been run) the clouds keep streaming and only the overlay is unavailable. Tune the detector via Assets/DetermFlowbitServer/Config/detect_config.json (model, classes, Rotate 180 for upside-down cameras, voxel-fusion parameters) — edit and restart.